on
Automating my Tesla Powerwall 3 Using Home Assistant, Teslemetry, Solcast, and Predbat
Recently, I’ve been having an uphill adventure fully automating my new solar/battery system, and there were a number of challenges I stumbled upon which I couldn’t find documented elsewhere on the internet. Hopefully the following is an interesting read and useful to others on a similar journey.
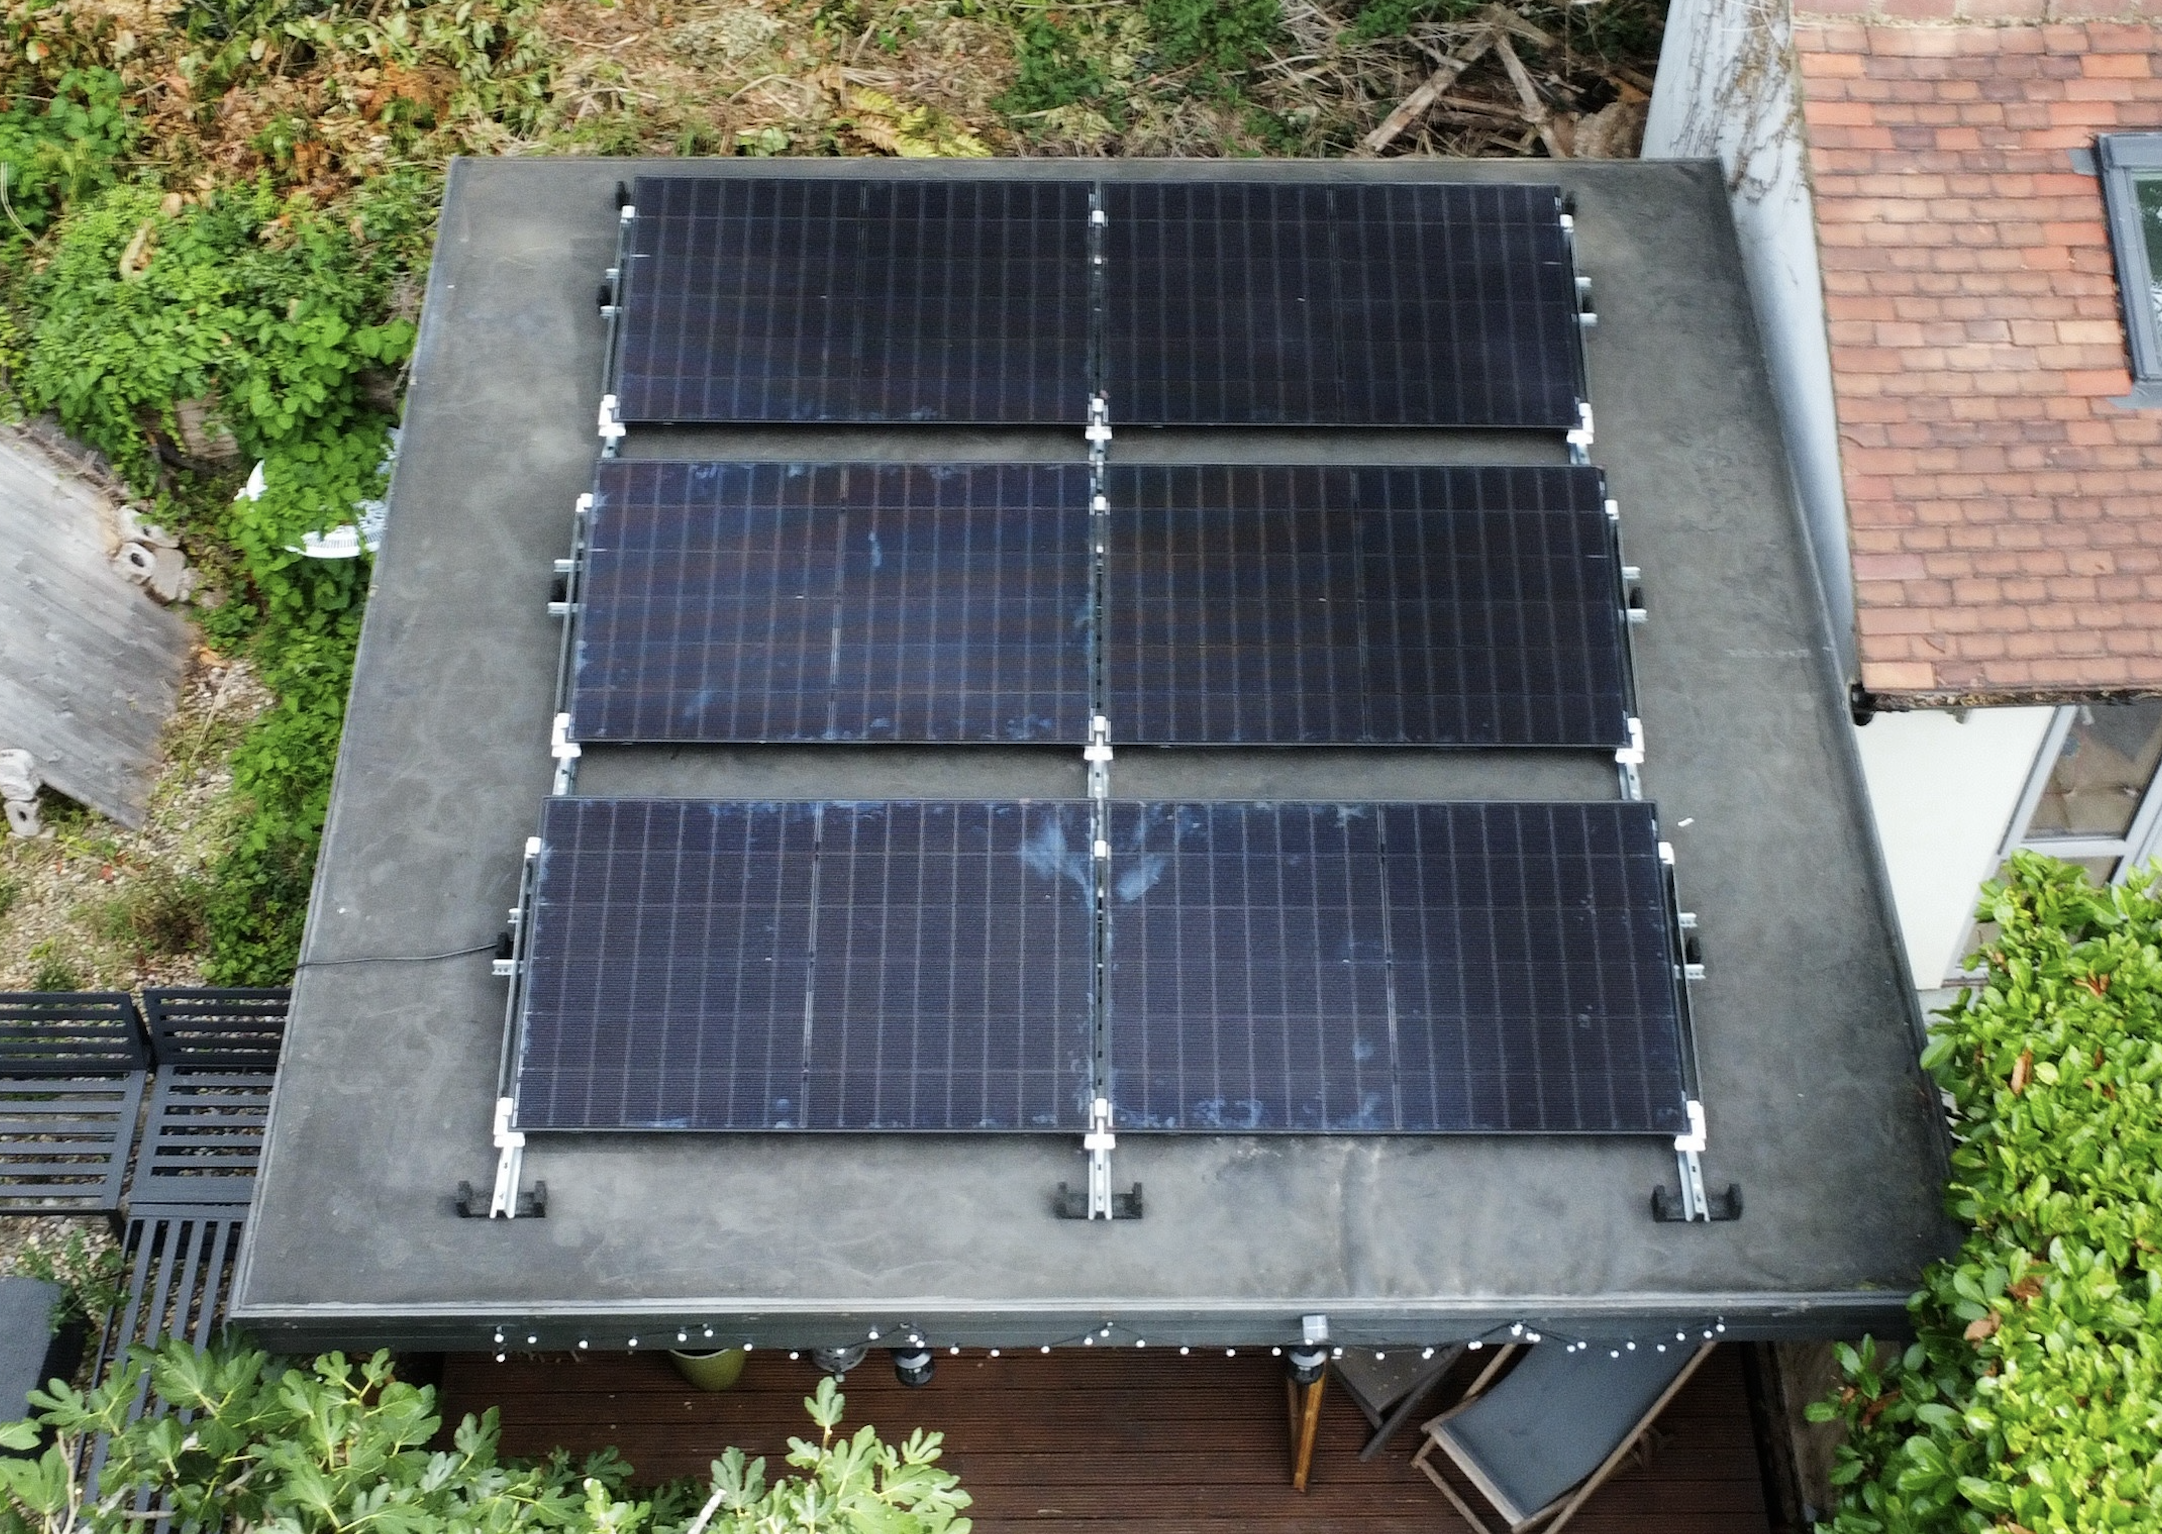
There are many reasons I was interested in having a PV/battery system installed, however earlier this year we had a number of power cuts in short succession affecting the local area due to a faulty underground cable. The power cuts went on for so long that they resulted in me needing to downtools at work, and there’s nothing like being plunged into darkness with a very hungry 3-month-old baby needing his bottles sterilised to make you realise just how dependent you are on the electricity grid!
After a lot of research, I took the plunge and reached out to Heatable about having a solar and battery system installed. I first stumbled across Heatable through their YouTube channel where they have some fantastic content.
Heatable are relatively expensive, but they handle absolutely everything and the whole process was extremely smooth and well communicated. I figured if I was going to spend a significant sum of money on a PV installation, I’d much rather do so having the peace of mind that it would be done properly the first time.
That thought process was rewarded when Eddie and Mark from (the brilliantly named, if I do say so myself) Renewable EDTricity reached out having being subcontracted by Heatable. Eddie and Mark were fantastic throughout the whole installation and provided a lot of aftercare support too, going above and beyond to get everything up and running smoothly.
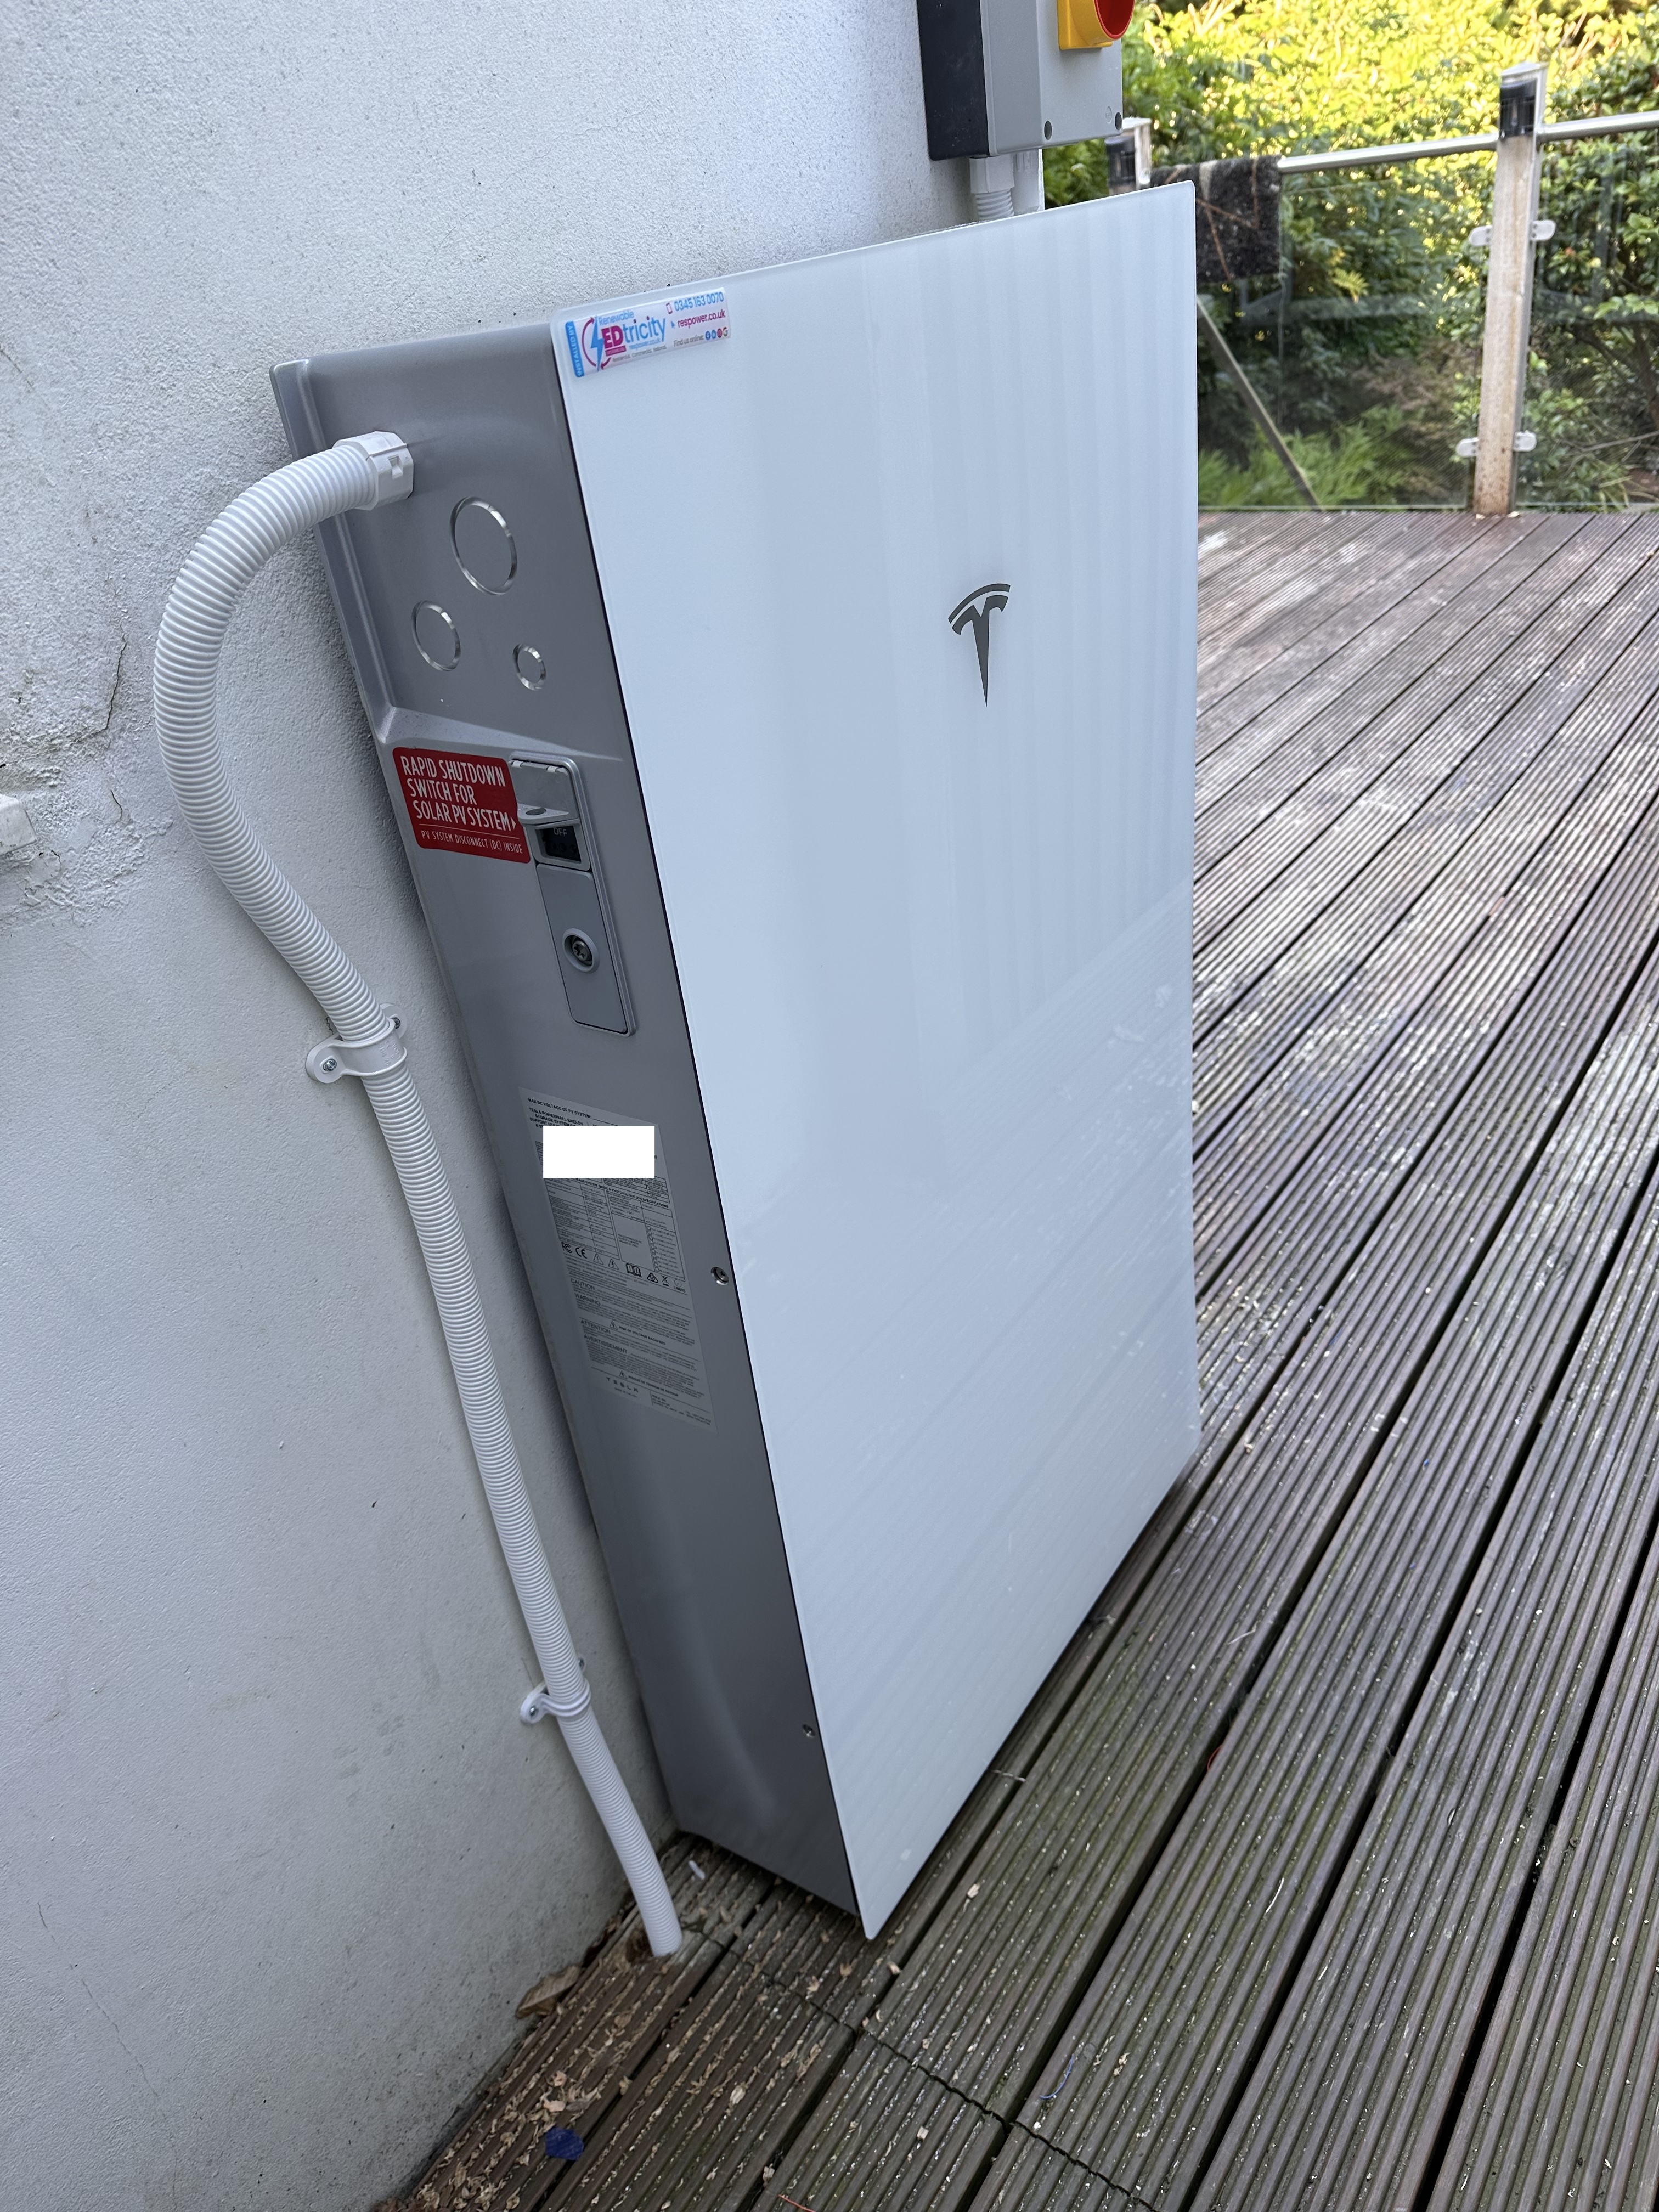
There are quite a few options around solar/battery combos, and I went with the Tesla Powerwall 3 for my battery due to a combination of the warranty and features provided by the Tesla Gateway for powercut situations.
Two months and an approved G99 later, the install was completed in the space of a day and I lived happily ever after!
However…
It was only a matter of time before the itch began.
“Can this be homelabbed?”
Manual to Magical
The short answer is yes, it is absolutely possible to quickly and easily use tools like NetZero to go above and beyond what the Tesla app provides by itself and automate when/how a Tesla Powerwall should charge/discharge and linking this in to an energy tariff.
This was a starting point, but I wanted to follow this rabbit deeper and see whether there was a way I could do more by leveraging my beloved homelab.
Every PV / battery installation is unique which makes this more challenging. There are a large number of variables when it comes to automating a home energy setup:
- The capacity of the battery
- The rate it can charge/discharge
- The efficiency, positioning, azimuth, direction, and shading of the solar panels
- The current and near-future weather forecast
- The current and near-future electricity import (and export) costs
- The round-trip efficiency of the battery
- The current and predicted future load being drawn from the home
There are also freak events to consider like lightning storms (or solar eclipses if you really enjoy separating your M&Ms).
My setup is as follows:
- A Tesla Powerwall 3 (13.5kWh battery, 5kW maximum charge rate)
- 7.2kWh G99 approved export from my local DNO
- 10x REA Fusion² Panels split between the main house and a garden summerhouse
- An Envoy Communication Gateway used for monitoring each of the individual solar panels
- A smart meter capable of exporting readings every 30 minutes
- I do not have an EV, which impacts which energy tariffs I’m eligible for (particularly those with cheap overnight rates)
- A newly opened Octopus energy Agile tariff (export license pending) with dynamic pricing that changes every 30 minutes
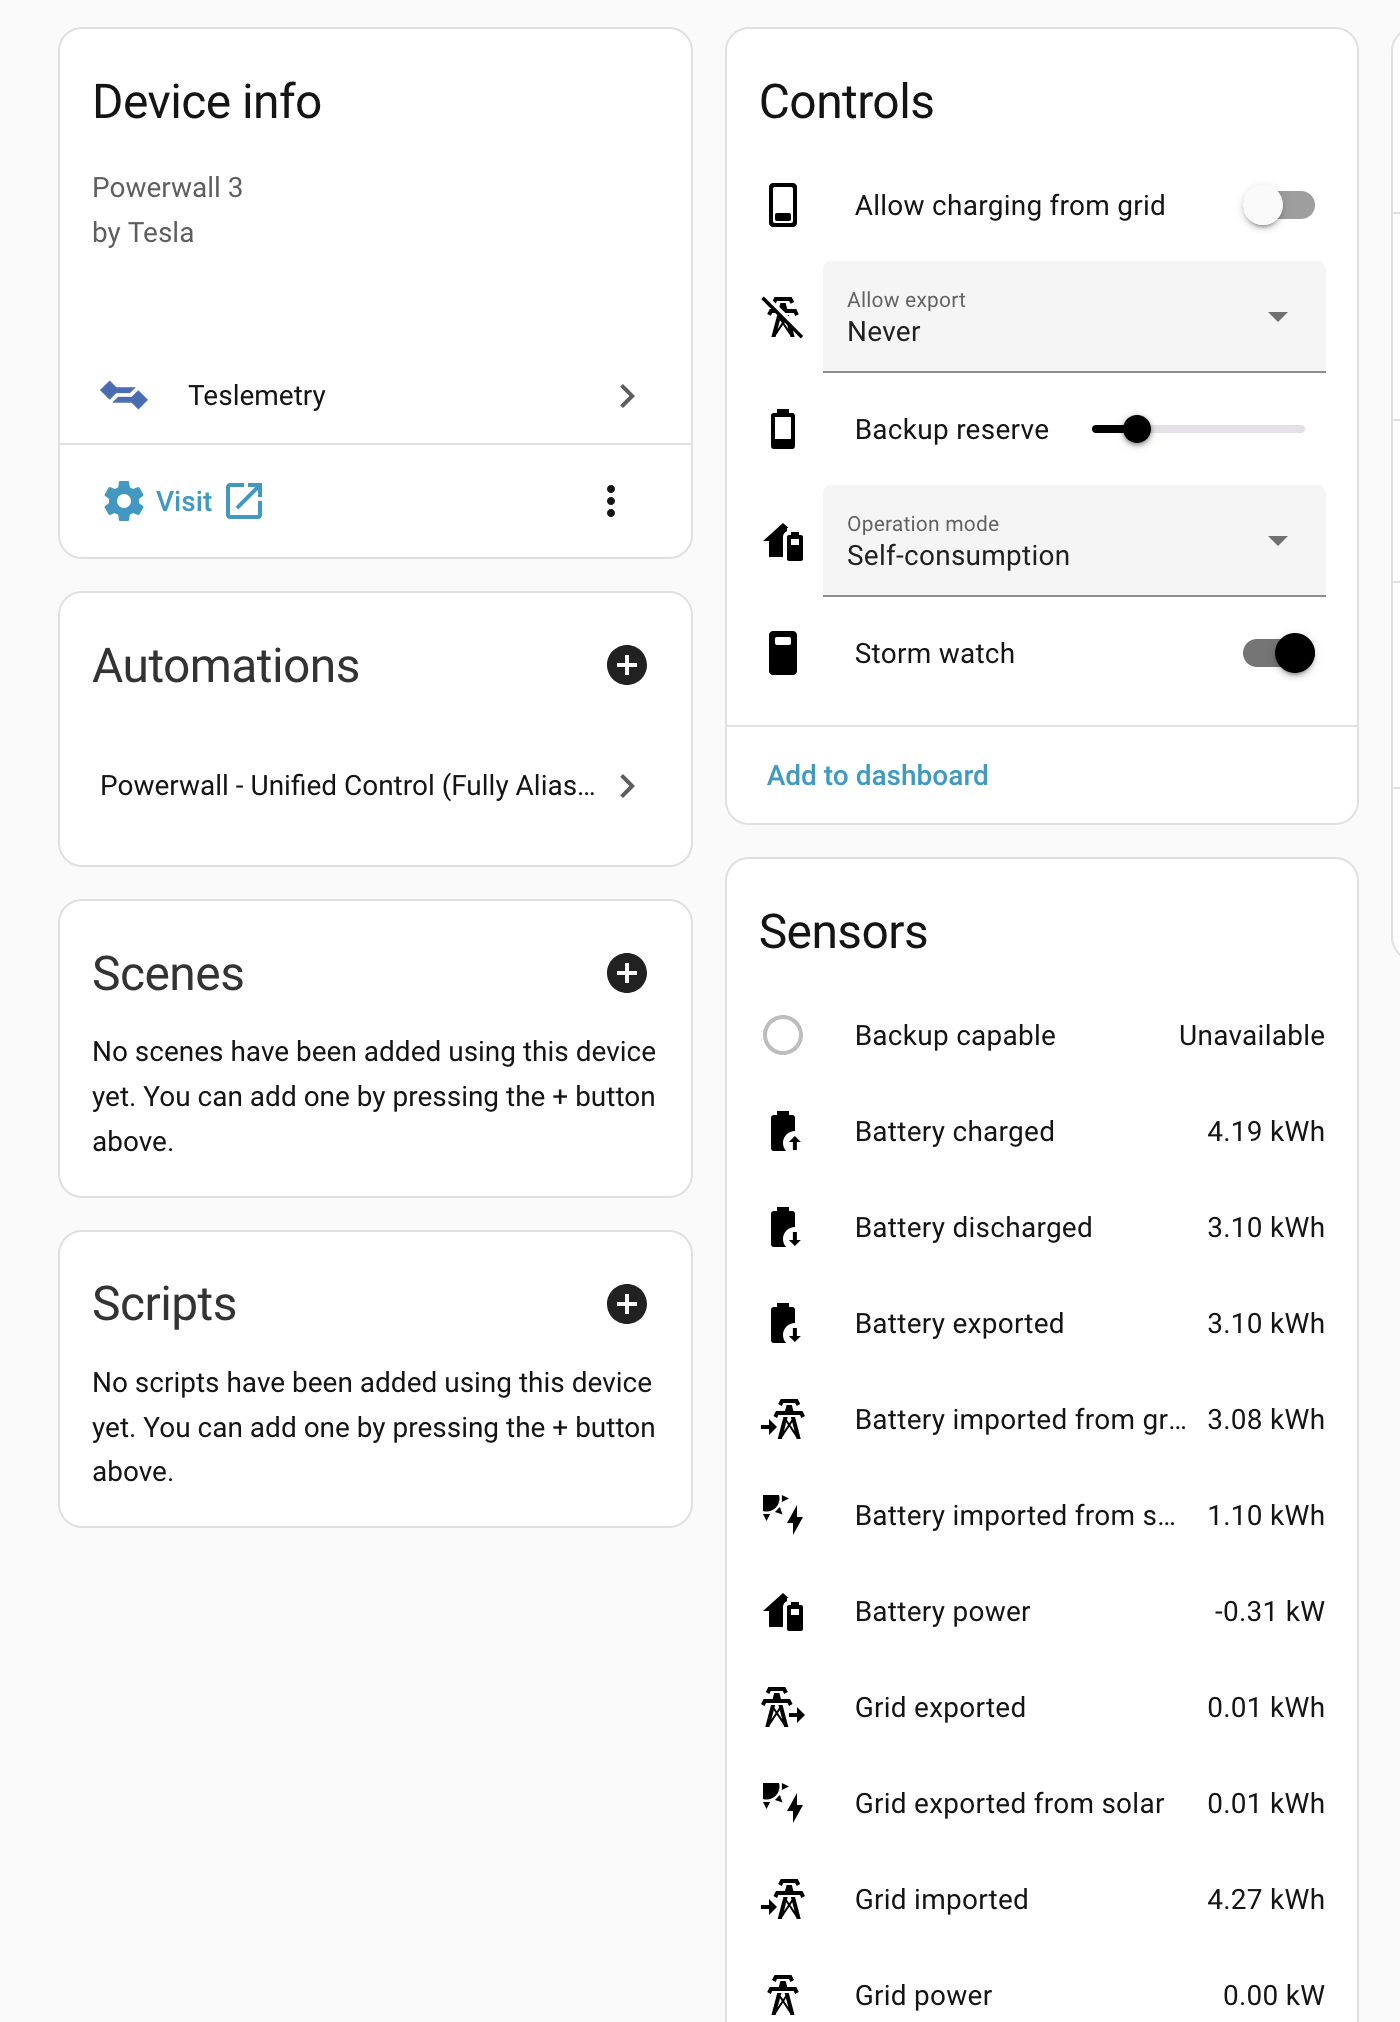
Tesla Powerwalls only expose the following options for charging/discharging the battery:
- Reserve - A ‘reserve’ slider which can be set to tell the battery how much charge it must maintain. This can be used trigger the battery to charge from the grid (if the current charge < target reserve charge). Recently Tesla have changed the behaviour of this slider so that any reserve value between 80-100 will trigger a full backup cycle where the battery fills completely.
- Import from Grid
- This can be enabled/disabled to allow the battery to charge directly from the grid
- Export to Grid
- This can be enabled/disabled to allow excess solar to discharge back to the grid
- The operating mode can be set to one of the following at any time:
- Self consumption
- Local solar is prioritised and any excess is stored in the battery. Excess is only exported to the grid when the battery is full.
- The battery will charge at 1.7kW
- Autonomous (Time Based Control)
- The Powerwall will attempt to use any tariffs which have been entered into the app to control charge/discharge.
- The Powerwall will charge at 5kW
- Backup
- This mode is not available in the app directly, but can be triggered through 3rd party apps. The is the hidden mode the battery uses when Storm Protection is engaged
- The battery will charge from the grid or solar up to full and stay there.
- The battery will charge at 3.3kW
- If the mode is engaged but Import from Grid is disabled, this can act as a ‘hold’ to keep the battery at a certain charge. Any house load will be consumed from the grid.
- Self consumption
With creative use of switching between modes, the reserve slider, and enabling/disabling grid imports it’s possible to simulate some quite advanced behaviour.
Teslemetry
Early on in this adventure, I accepted that the options for directly interacting with Tesla APIs over the local network are limited and that there would be a dependency on Tesla’s internet-hosted APIs. I wanted something reliable, and something that integrated into my existing smart home with minimal maintenance.
My first attempt to control the Powerwall outside the Tesla app was based on Scott Helme’s fantastic blog series covering his own adventures automating his Tesla Powerwalls with Home Assistant and Teslemetry. Teslemetry is a service which acts on your behalf to talk to Tesla’s APIs and expose metrics and controls in a way which Home Assistant understands. It has a very reasonable cost of just over £2 a month, which is much more than it saves me through exposing this functionality and much less than NetZero now charge (although admittedly the feature set is very different).
I already have Home Assistant running in a container and orchestrated with k3s, so I registered with Teslemetry and was very quickly up and running with the entities Teslemetry exposes for interacting with a Tesla Powerwall.
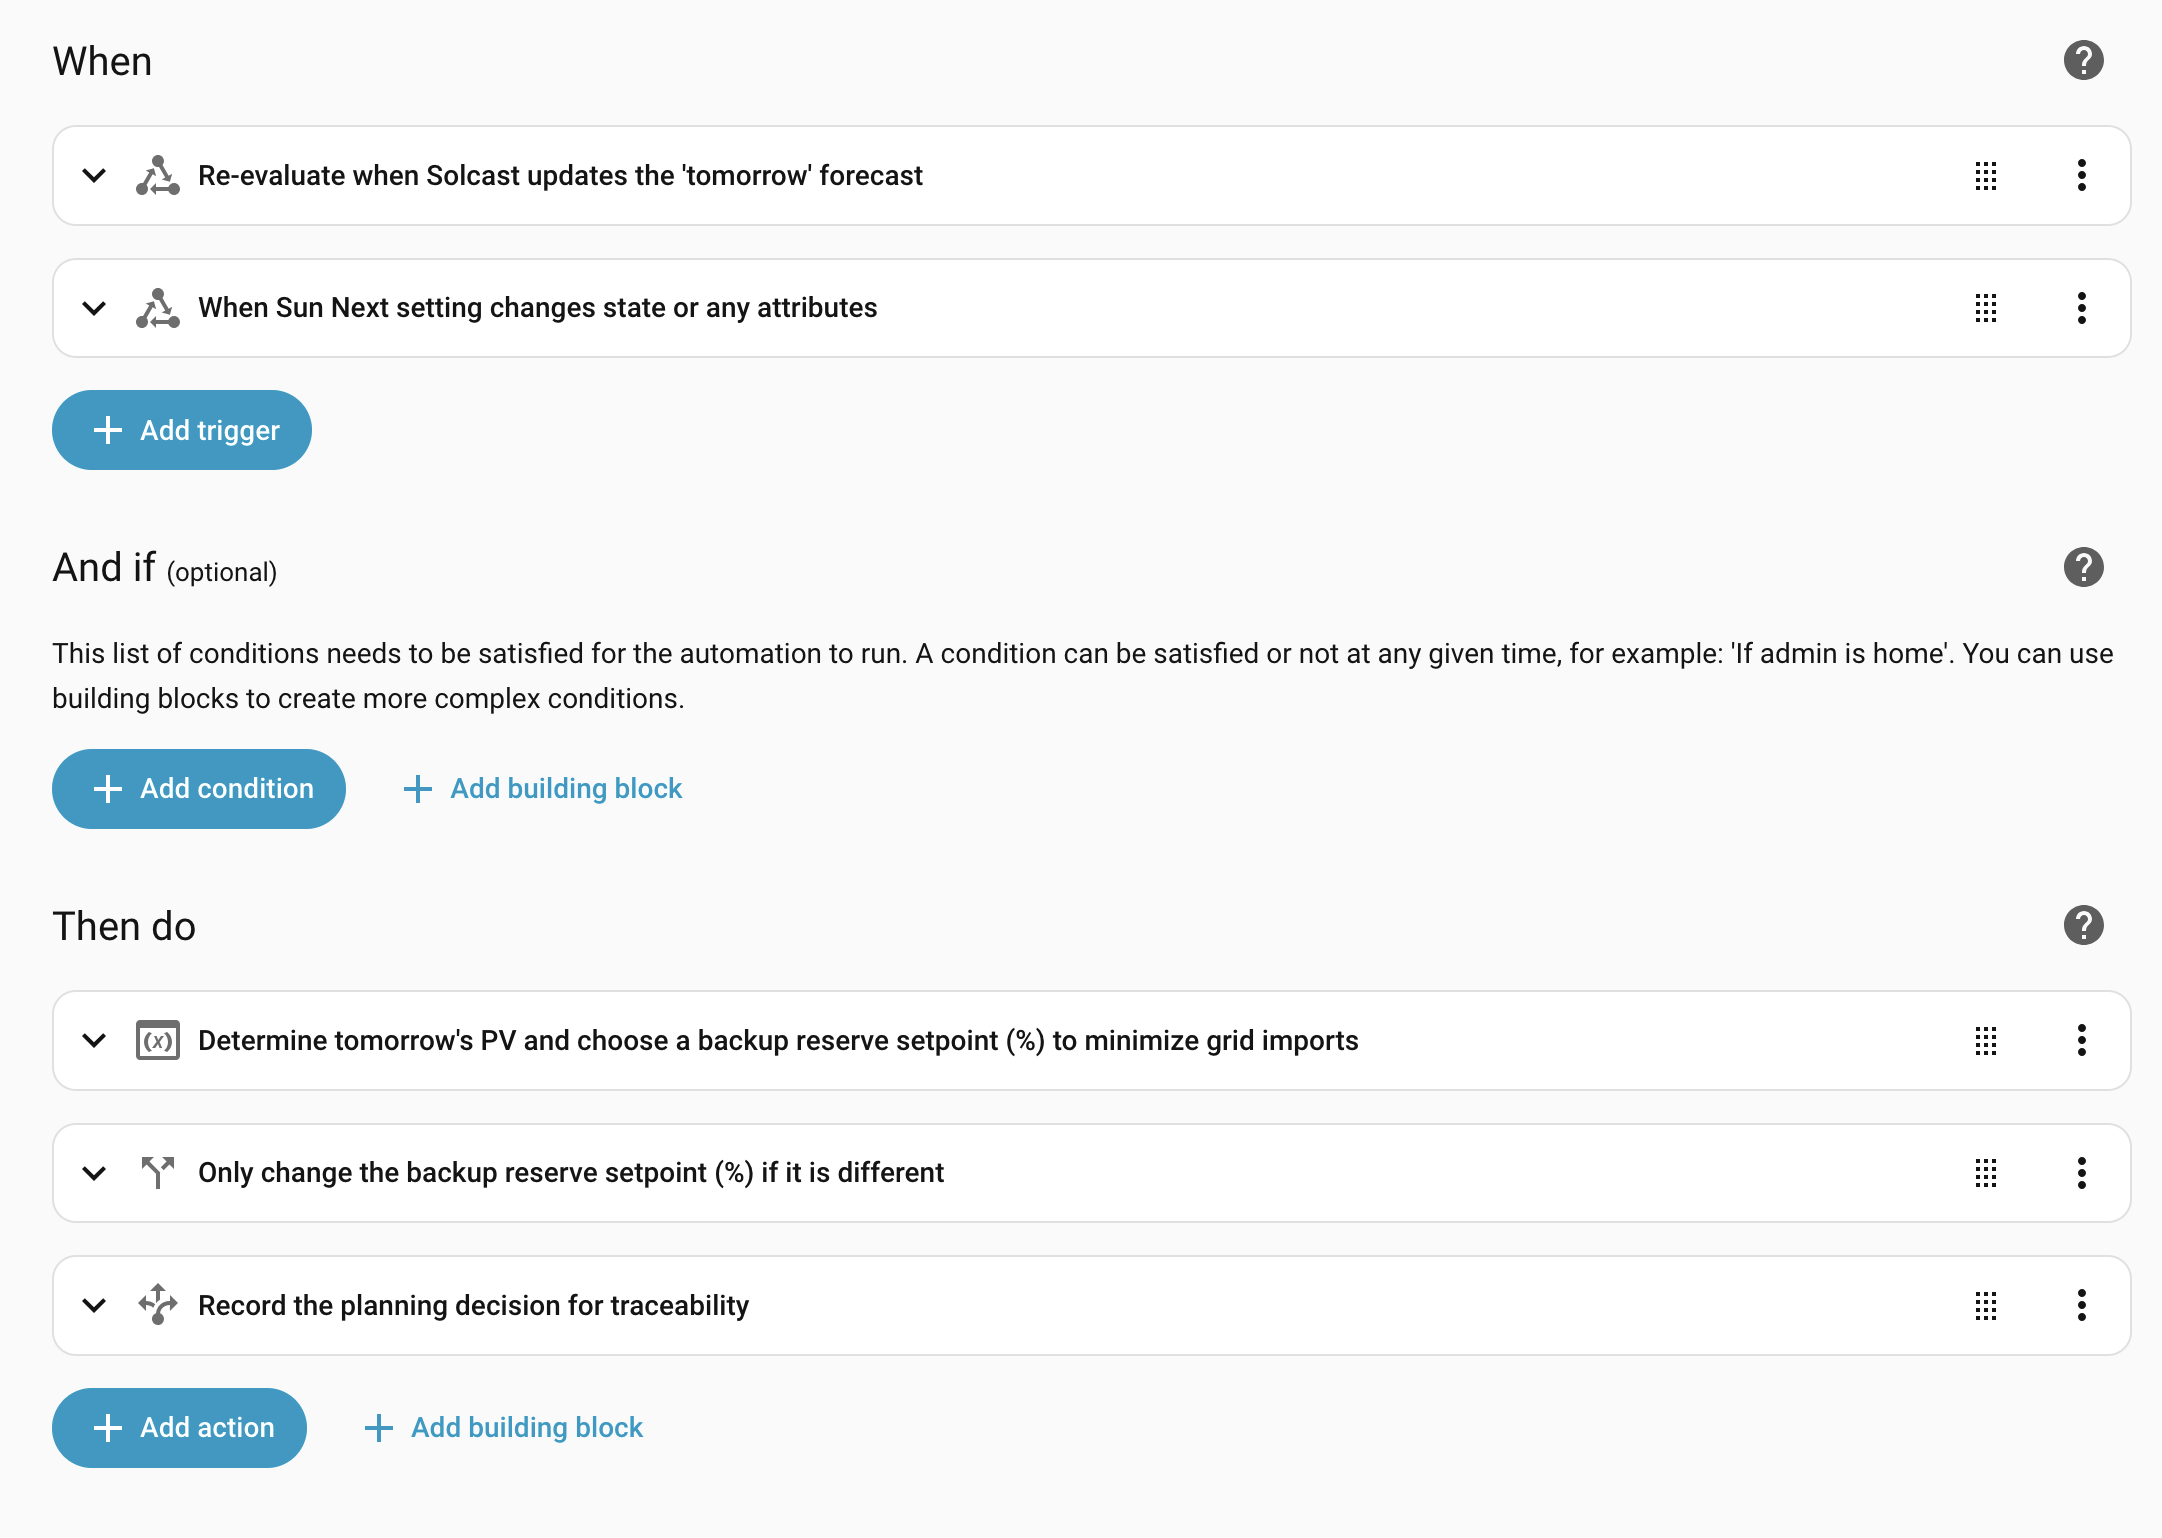
I began with the automations Scott Helme provided in his blog posts as these were a great starting point to begin tinkering. However, without an EV and cheap overnight charging rates, it suddenly became much more difficult to decide the best windows for charging. Those with EVs are eligible for energy tariffs of ~7p/kWh off-peak, which provides the perfect opportunity for filling the battery and slowly consuming it throughout the day. Instead, as an Agile customer, I may have a few half-hour windows scattered across the day for cheap electricity, but it’s pot-luck if these windows are enough to fill the battery (or if the solar panels will top it up).
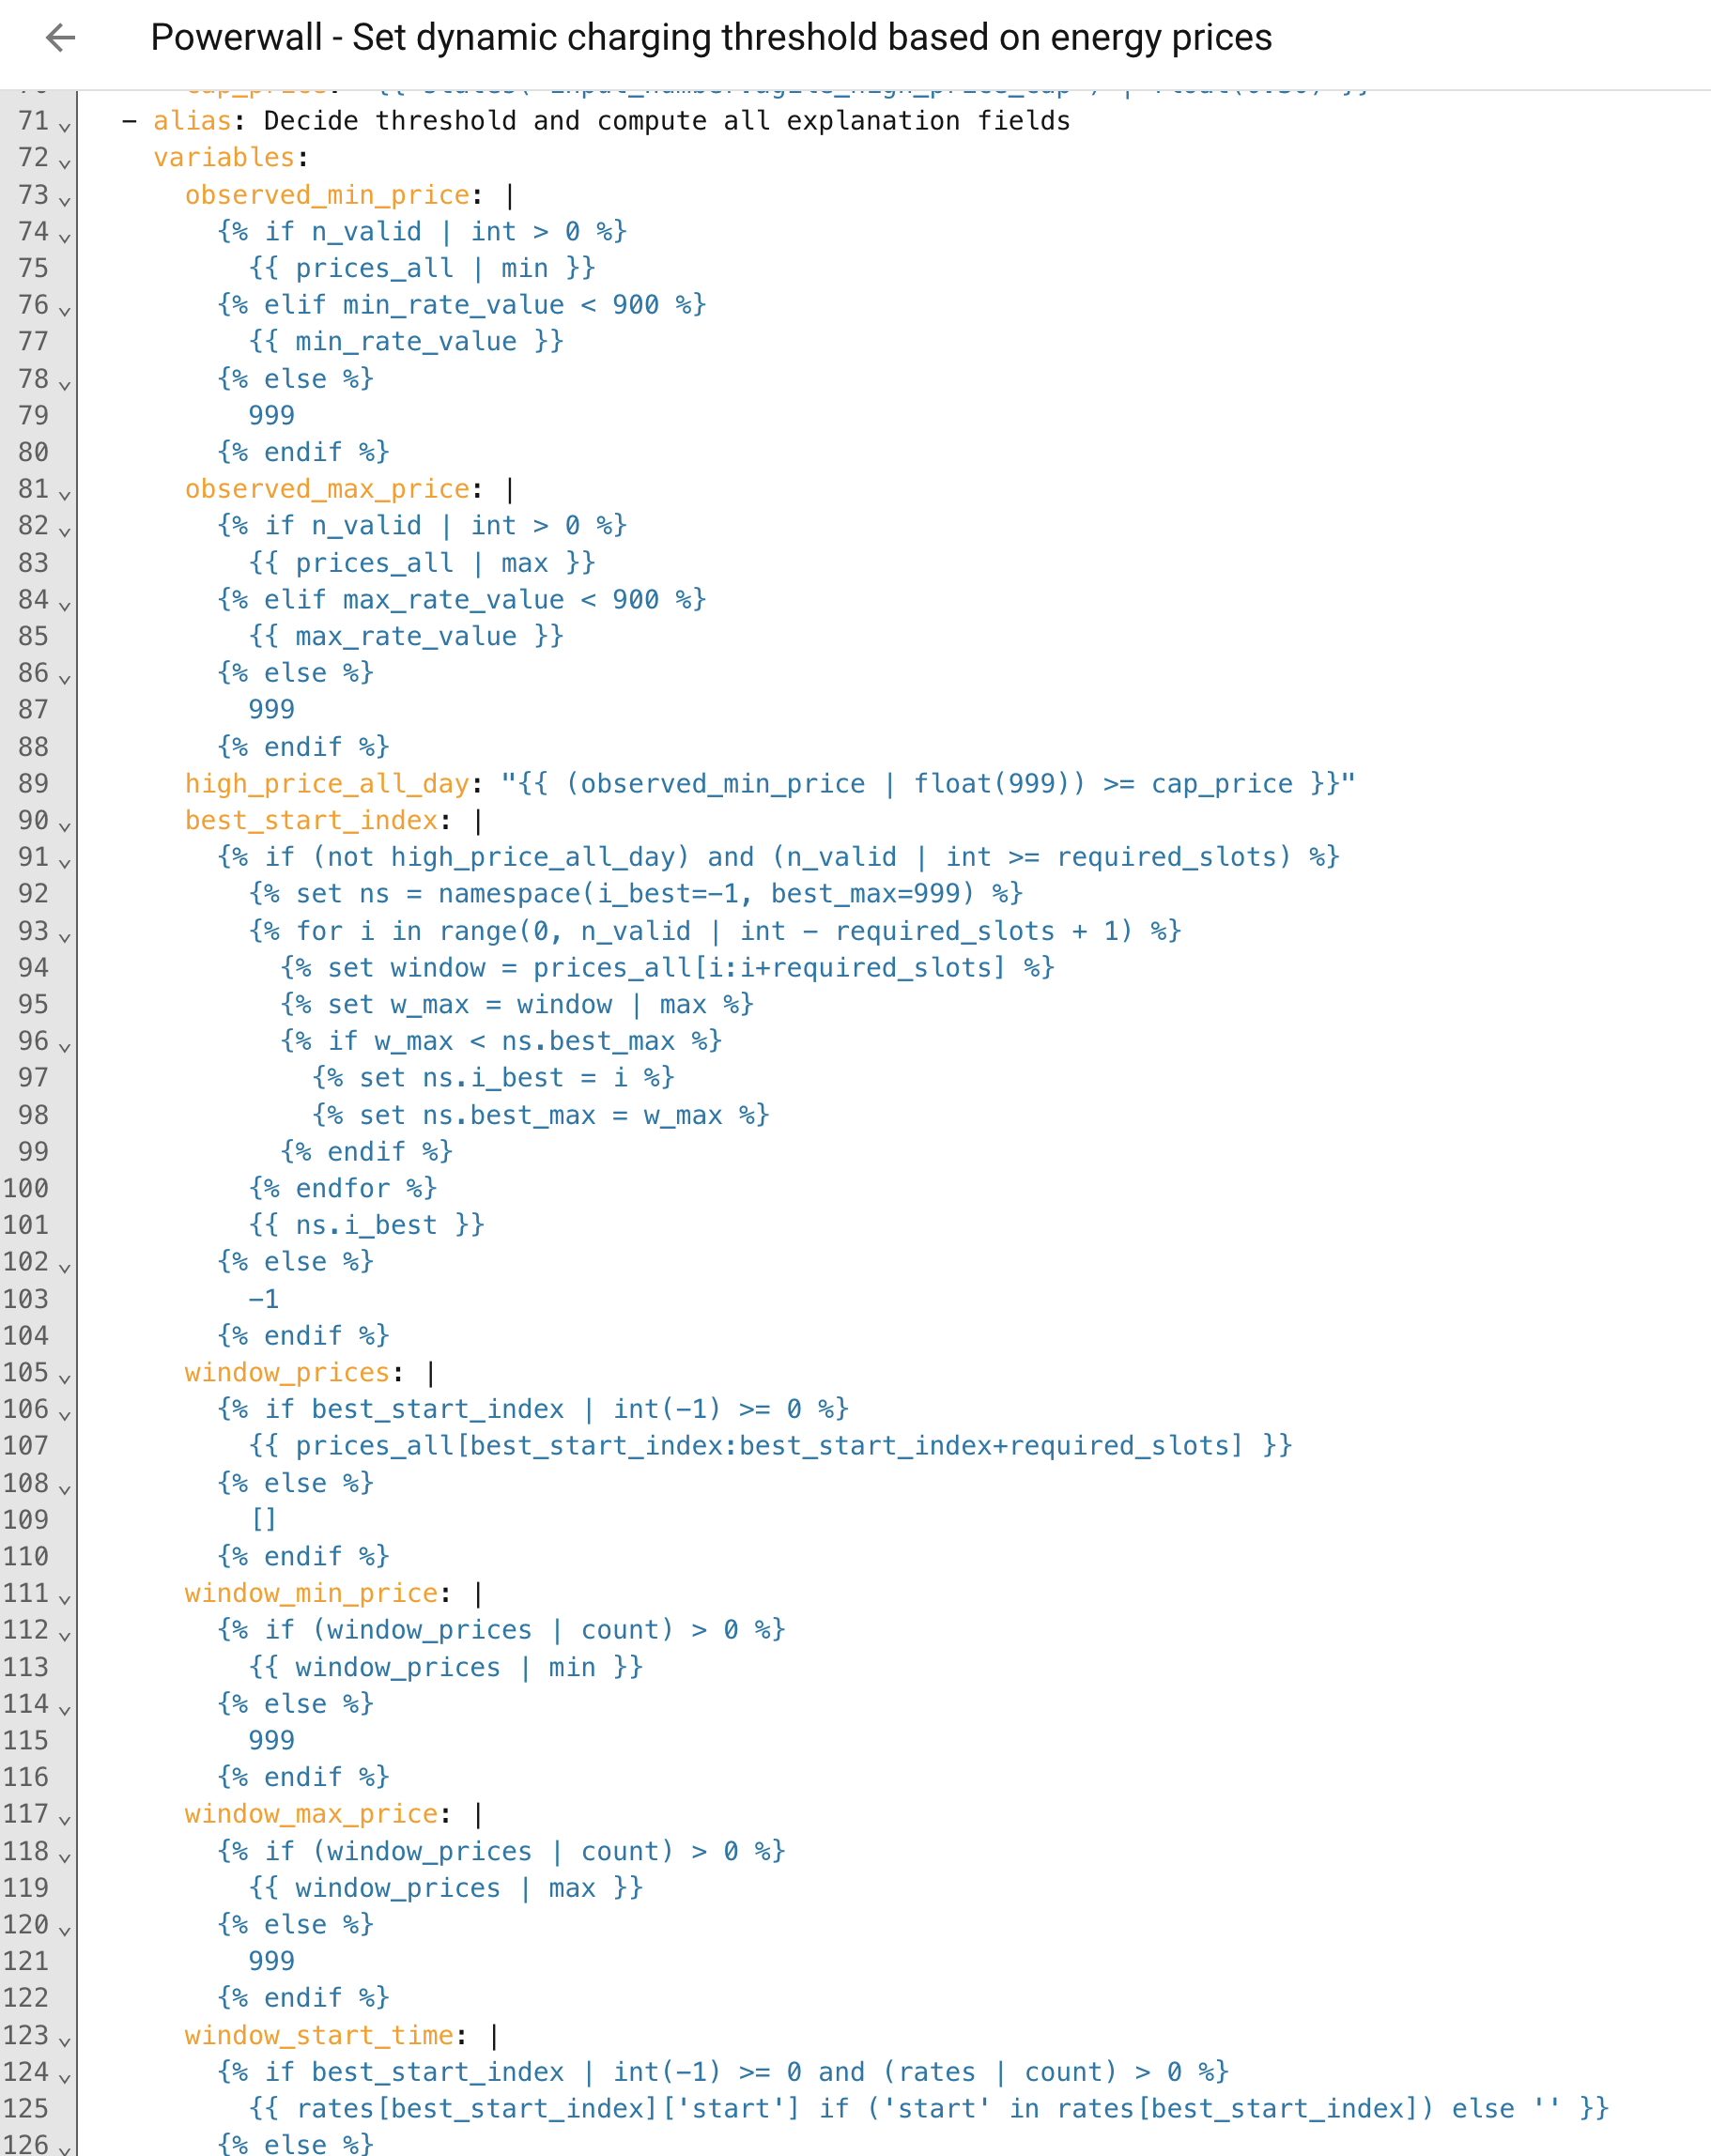
I started making my own automations and registered a free account with Solcast with the intention of using their Home Assistant integration to leverage future forecasts when determining how high to charge the battery. This worked, but it took a lot of time and effort to constantly tweak and fine-tune the behaviour I wanted, and the automations were really starting to look ugly…
Predbat
Whilst researching I came across Predbat (also called Batpred). Predbat is the open source brainchild of Trefor Southwell and is seriously impressive and incredibly advanced. You feed Predbat all of the metrics you can muster - electricity tariffs, weather forecasts, battery metrics, solar metrics - and it will do all of the legwork for you in creating an optimal plan for your battery to save you the most money. You can view exactly what it wants to do, when it wants to do it, and optionally have it control your battery system to implement those plans automatically.
Initially I was put off for the following reasons:
1) Predbat has no documentation covering use of a Tesla Powerwall. As of the time of writing, only the following inverter systems are officially supported:
GivEnergy Hybrid, AC and AIO
Solis
Solax
Sunsynk
Huawei
SolarEdge
Fox
Sofar
LuxPower
Solar Assistant
Sigenergy Sigenstor
2) I am running Home Assistant in a container and not on dedicated hardware / VM. This means that the ecosystem around addons more complex as many addons require use of Supervised, which is not available in the HA container. Unfortunately Predbat also does not support installation via HACS. If I wanted to use Predbat, I would need to host it outside of Home Assistant. This is further frustrated by there being no ‘official’ Predbat container builds.
3) Predbat is advanced. It has a learning curve in the way that tools like NetZero just don’t and my free time is finite, but as a result it is also massively customisable.
Looking at what Predbat is capable of and what I wanted to do, I decided it was absolutely worth attempting to get it talking to my shiny new Powerwall, and to swap out my (frankly at this point, quite ugly) Home Assistant automations as soon as possible.
Tesla Powerwall + Teslemetry + Solcast + Predbat + ☀️ = 📈
I tackled each of these challenges in turn, starting with deploying Predbat. I leveraged a community docker build offered by nipar44. This worked well for testing and verification that this project would work, even if the version was a few versions behind the latest Predbat build.
I deployed Predbat via a hack-and-slash Helm chart and used a Configmap to drop in a custom /config/apps.yaml (which tells Predbat how to connect to Home Assistant, and what entities to query for solar/battery status). It kicked into life, connected to my Home Assistant, and a huge number of new entities suddenly appeared.
Next, I needed to figure out how to get Predbat to talk to Teslemetry via Home Assistant. It took a lot of tweaking and waking up at 3am to check charge cycles to finally get this working as intended. Whilst Tesla isn’t a natively supported brand, it’s possible to define your own inverter in Predbat’s configuration and use this to drive how Predbat interacts with it.
I’m very happy to be able to share my Predbat configuration for controlling a Tesla Powerwall 3 with Teslemetry, should others want to follow in my footsteps. Replace <site> with your own site based on what Teslemetry provides:
pred_bat:
    module: predbat
    class: PredBat

    prefix: predbat
    timezone: Europe/London
    run_every: 5

    ha_url: "http://homeassistant"
    ha_key: "secret_ha_key.replaceme"

    # Replace this with the total PV energy generated today from your inverter
    pv_today: sensor.pv_energy_production_today

    # Misc
    charge_control_immediate: False
    num_cars: 0 # I don't have an EV :(

    inverter_type: TESLA
    inverter:
        name: "Tesla Powerwall via Teslemetry"
        has_rest_api: False
        has_mqtt_api: False
        output_charge_control: "none"
        has_charge_enable_time: False
        has_discharge_enable_time: False
        has_target_soc: False
        # While the Powerwall does have a reserve SoC, we don't need to
        # leverage it for controlling charge/discharge
        has_reserve_soc: False
        charge_time_format: "S"
        charge_time_entity_is_option: False
        soc_units: "%"
        num_load_entities: 1
        time_button_press: False
        clock_time_format: "%Y-%m-%d %H:%M:%S"
        write_and_poll_sleep: 2
        has_time_window: False
        support_charge_freeze: False
        support_discharge_freeze: False
        has_idle_time: False

    # ---- Live power ----
    battery_power:
    - sensor.<site>_battery_power
    battery_power_invert:
    - False

    pv_power:
    - sensor.<site>_solar_power

    load_power:
    - sensor.<site>_load_power

    grid_power:
    - sensor.<site>_grid_power

    grid_power_invert:
    - True

    inverter_reserve_max: 80 #Anything between 80-100 will always be treated as 100

    # ---- Daily energy (kWh, cumulative today) ----
    load_today:
    - sensor.<site>_home_usage
    import_today:
    - sensor.<site>_grid_imported
    export_today:
    - sensor.<site>_grid_exported

    # ---- State of charge ----
    soc_percent:
    - sensor.<site>_percentage_charged
    soc_max:
    - "13.5"  # ensure this matches your usable kWh

    # ---- Powerwall controls via Teslemetry (must be writable) ----
    allow_charge_from_grid:
    - switch.<site>_allow_charging_from_grid
    allow_export:
    - select.<site>_allow_export

    # ---- Solar forecast (Solcast) ----
    pv_forecast_today: sensor.solcast_pv_forecast_forecast_today
    pv_forecast_tomorrow: sensor.solcast_pv_forecast_forecast_tomorrow

    # ---- Tariff sensors (Octopus) ----
    metric_octopus_import: 're:(sensor.(octopus_energy_|)electricity_[0-9a-z]+_[0-9a-z]+_current_rate)'
    metric_octopus_export: 're:(sensor.(octopus_energy_|)electricity_[0-9a-z]+_[0-9a-z]+_export_current_rate)'
    metric_standing_charge: 're:(sensor.(octopus_energy_|)electricity_[0-9a-z]+_[0-9a-z]+_current_standing_charge)'
    octopus_free_session: 're:(event.octopus_energy_([0-9a-z_]+|)_octoplus_free_electricity_session_events)'
    currency_symbols: ['£','p']
    threads: auto
    forecast_hours: 48

    # --- Predbat service hooks (Tesla / Teslemetry) ---
    # These hooks are called when Predbat wants to change the current
    # state of charge/discharge. They can tie-in to other HA entities.
    #
    # Tesla PW Operation modes can be one of:
    # ['self_consumption','autonomous','backup']
    #
    # grid-charging=on, mode=backup: Powerwall will charge
    # grid-charging=off, mode=backup: Powerwall will hold
    # mode=self_consumption: Powerwall will discharge

    charge_start_service:
    - service: switch.turn_on
        entity_id: switch.<site>_allow_charging_from_grid
        repeat: True
    - service: select.select_option
        entity_id: select.<site>_operation_mode
        option: "backup"
        repeat: True
    charge_hold_service:
    - service: switch.turn_off
        entity_id: switch.<site>_allow_charging_from_grid
        repeat: True
    - service: select.select_option
        entity_id: select.<site>_operation_mode
        option: "backup"
        repeat: True
    charge_freeze_service:
    - service: switch.turn_off
        entity_id: switch.<site>_allow_charging_from_grid
        repeat: True
    - service: select.select_option
        entity_id: select.<site>_operation_mode
        option: "backup"
        repeat: True
    charge_stop_service:
    - service: switch.turn_off
        entity_id: switch.<site>_allow_charging_from_grid
    - service: select.select_option
        entity_id: select.<site>_operation_mode
        option: "self_consumption"
This has been working beautifully. The battery charges, discharges, and holds exactly when it needs to.
My initial attempts had focused on manipulating the battery ‘reserve’ level up/down to match Predbat’s target SoC. However, this was clashing with both Predbat’s internal behaviour which was trying to maintain a fallback reserve, and also Tesla’s behaviour where any reserve value between 80-100 will automatically trigger a full backup cycle which was definitely not ideal!
In the end, I found that toggling the grid import option on/off and changing the operation mode was enough to get the desired behaviour, and together also had the advantage of being able to simulate a battery ‘hold’ which isn’t a feature that Tesla expose natively.
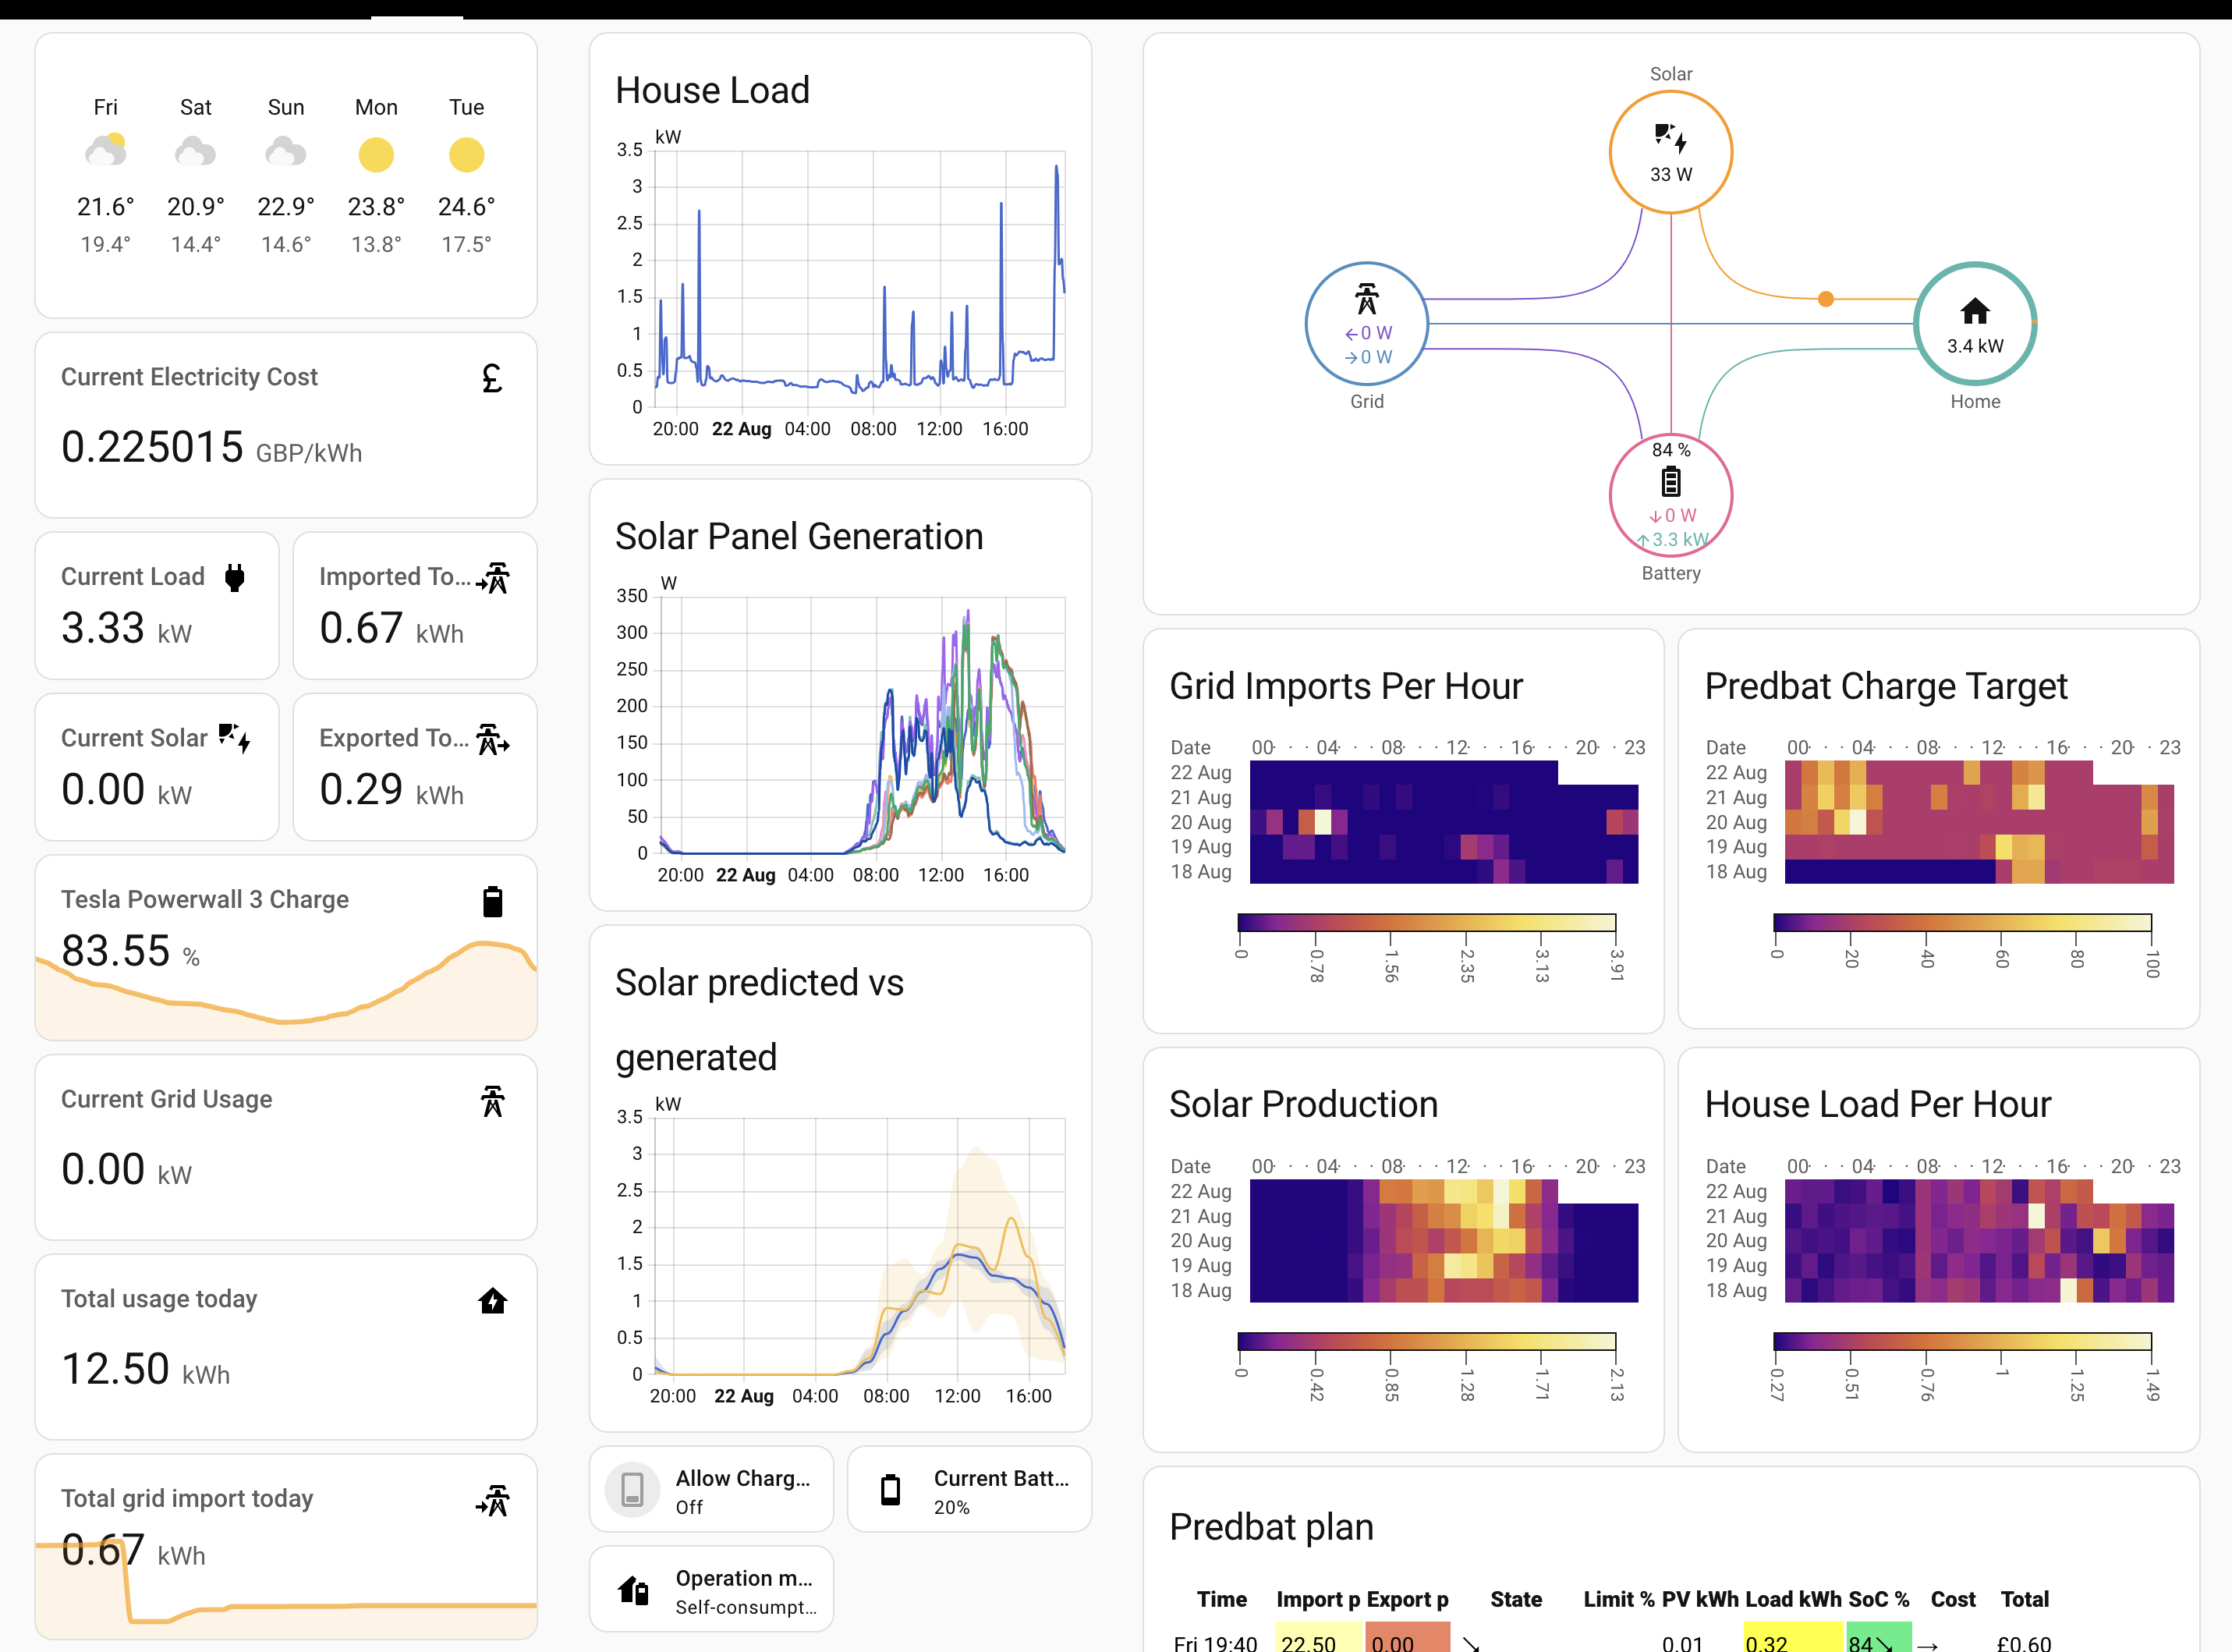
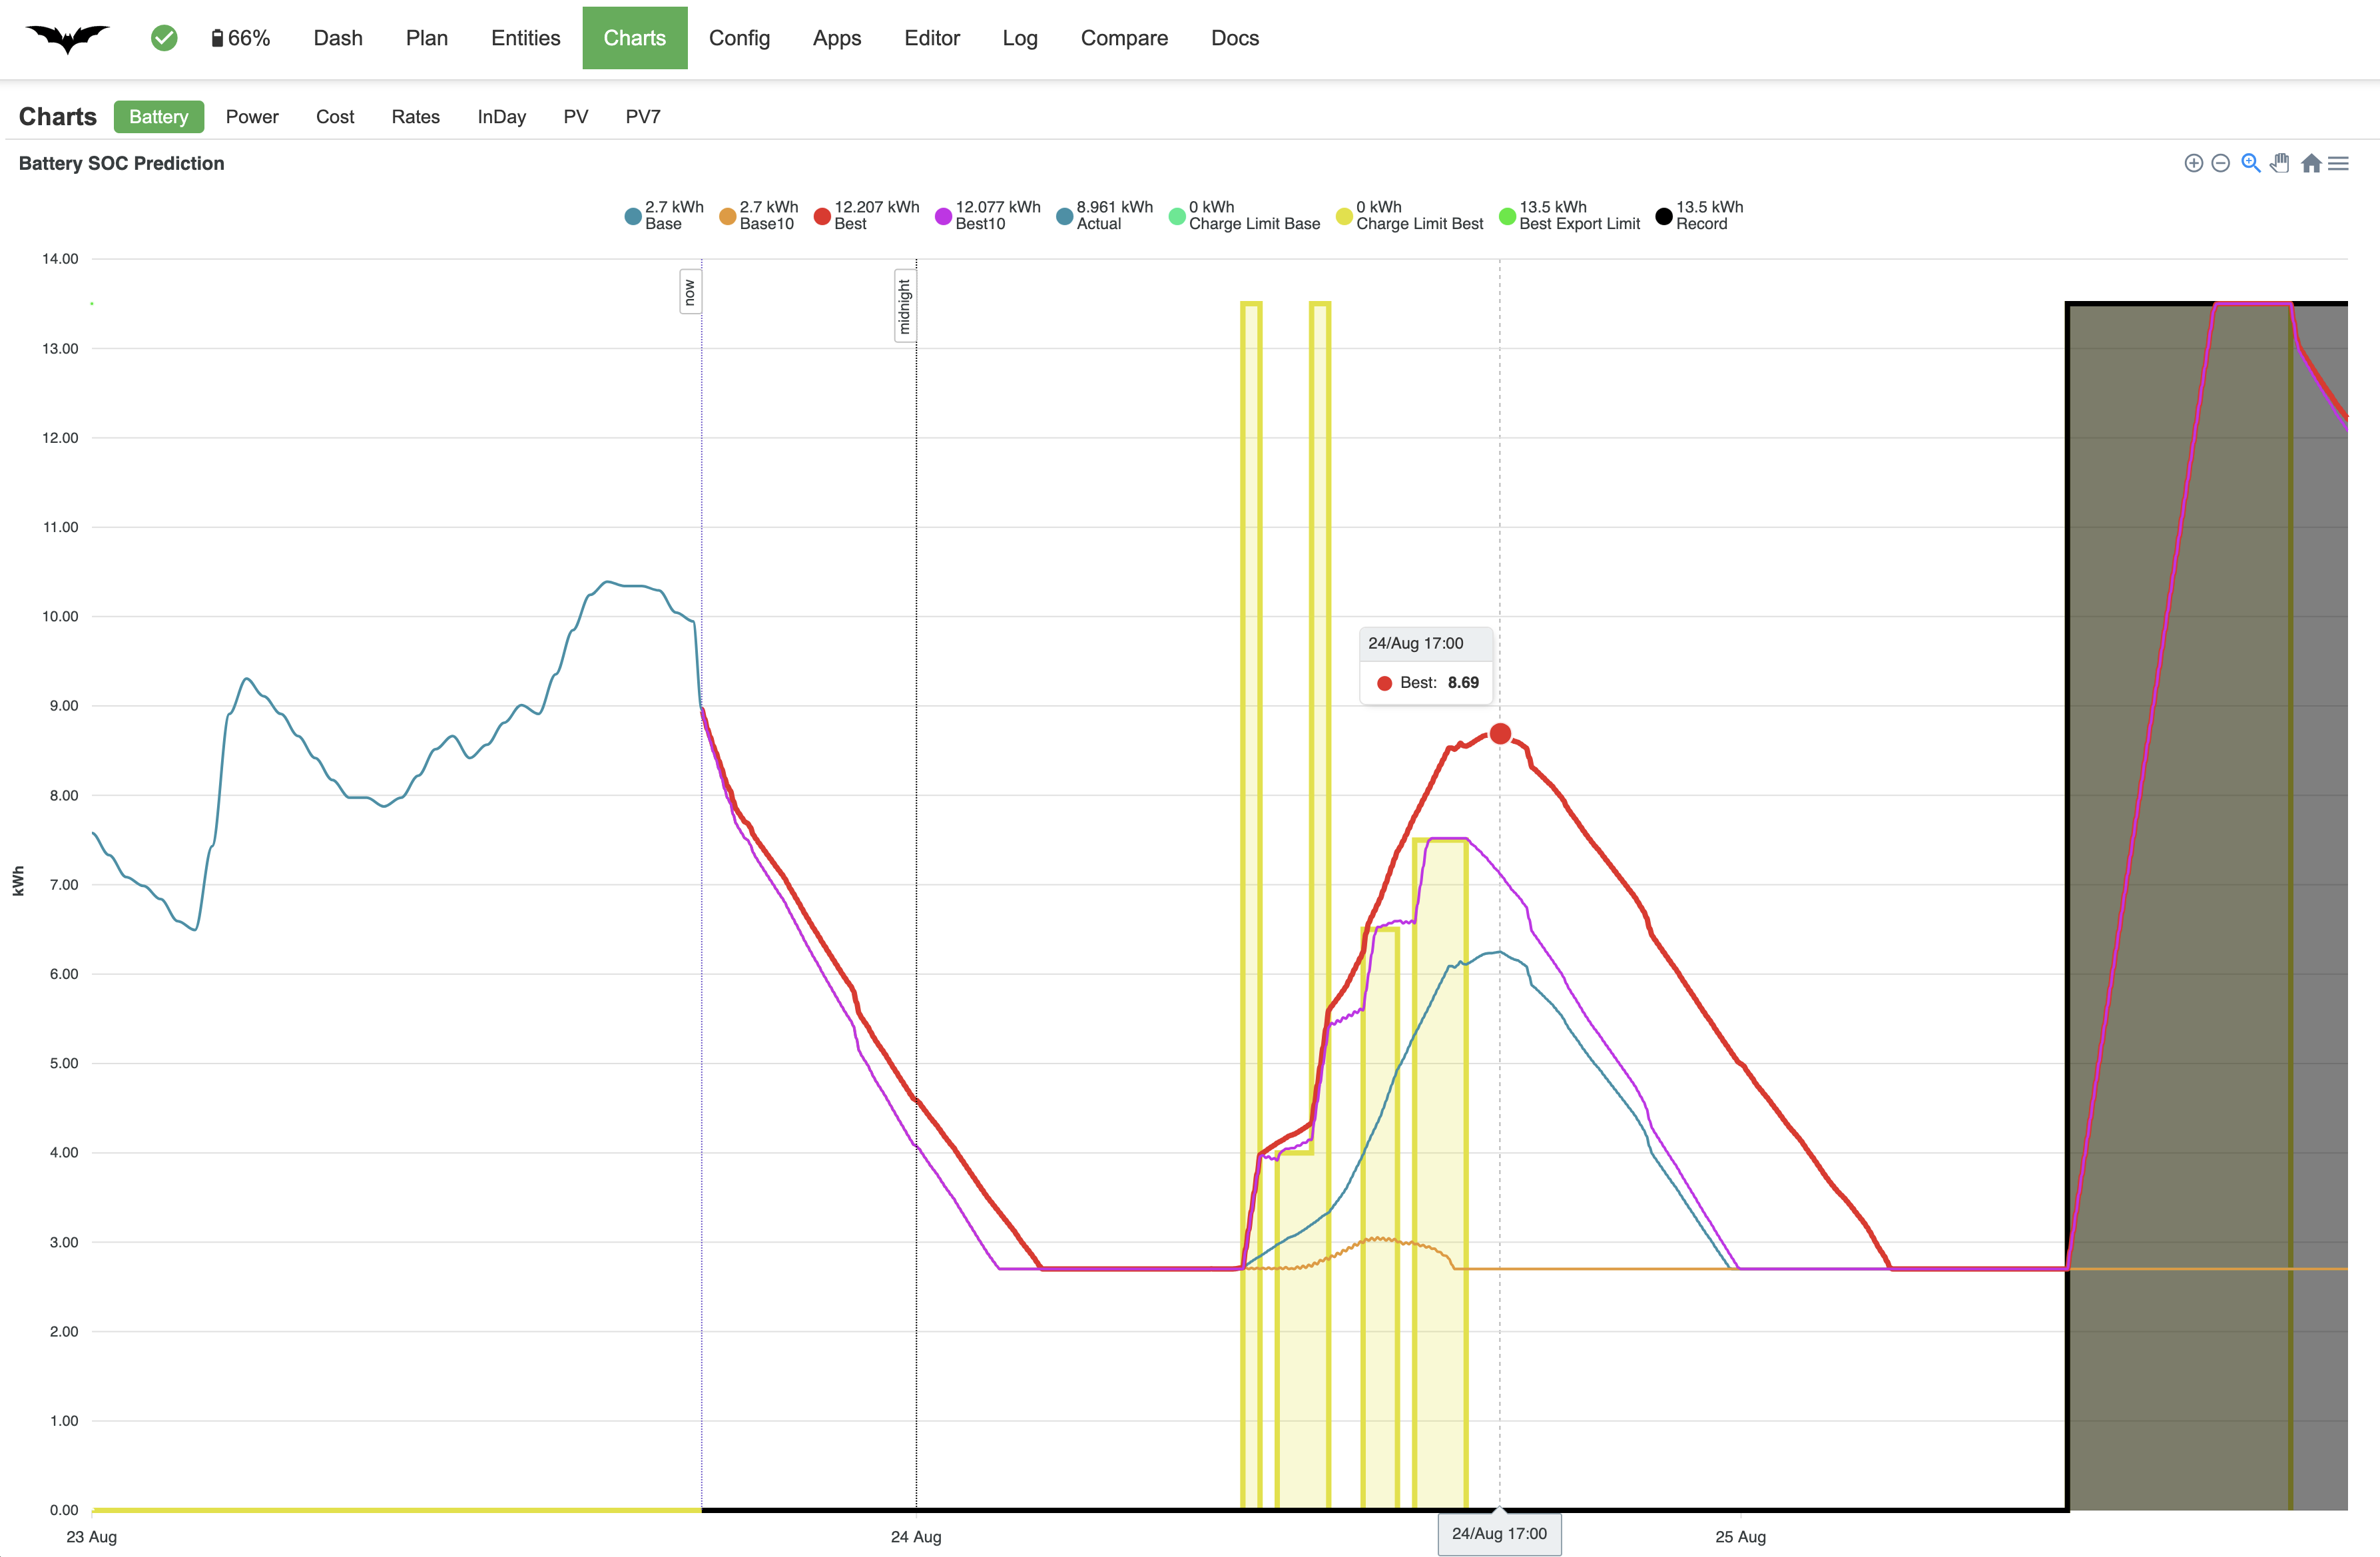
I’ve been glued to dashboards at all hours of the day and night watching Predbat in action; recalculating optimal charge windows and watching it use historical usage to predict how much charge it wants the battery to maintain through peak evening usage. I often find myself staring at its plans and projections, nodding in agreement, and getting a thrill knowing it’s all running on my little homelab quietly chugging away under the stairs.
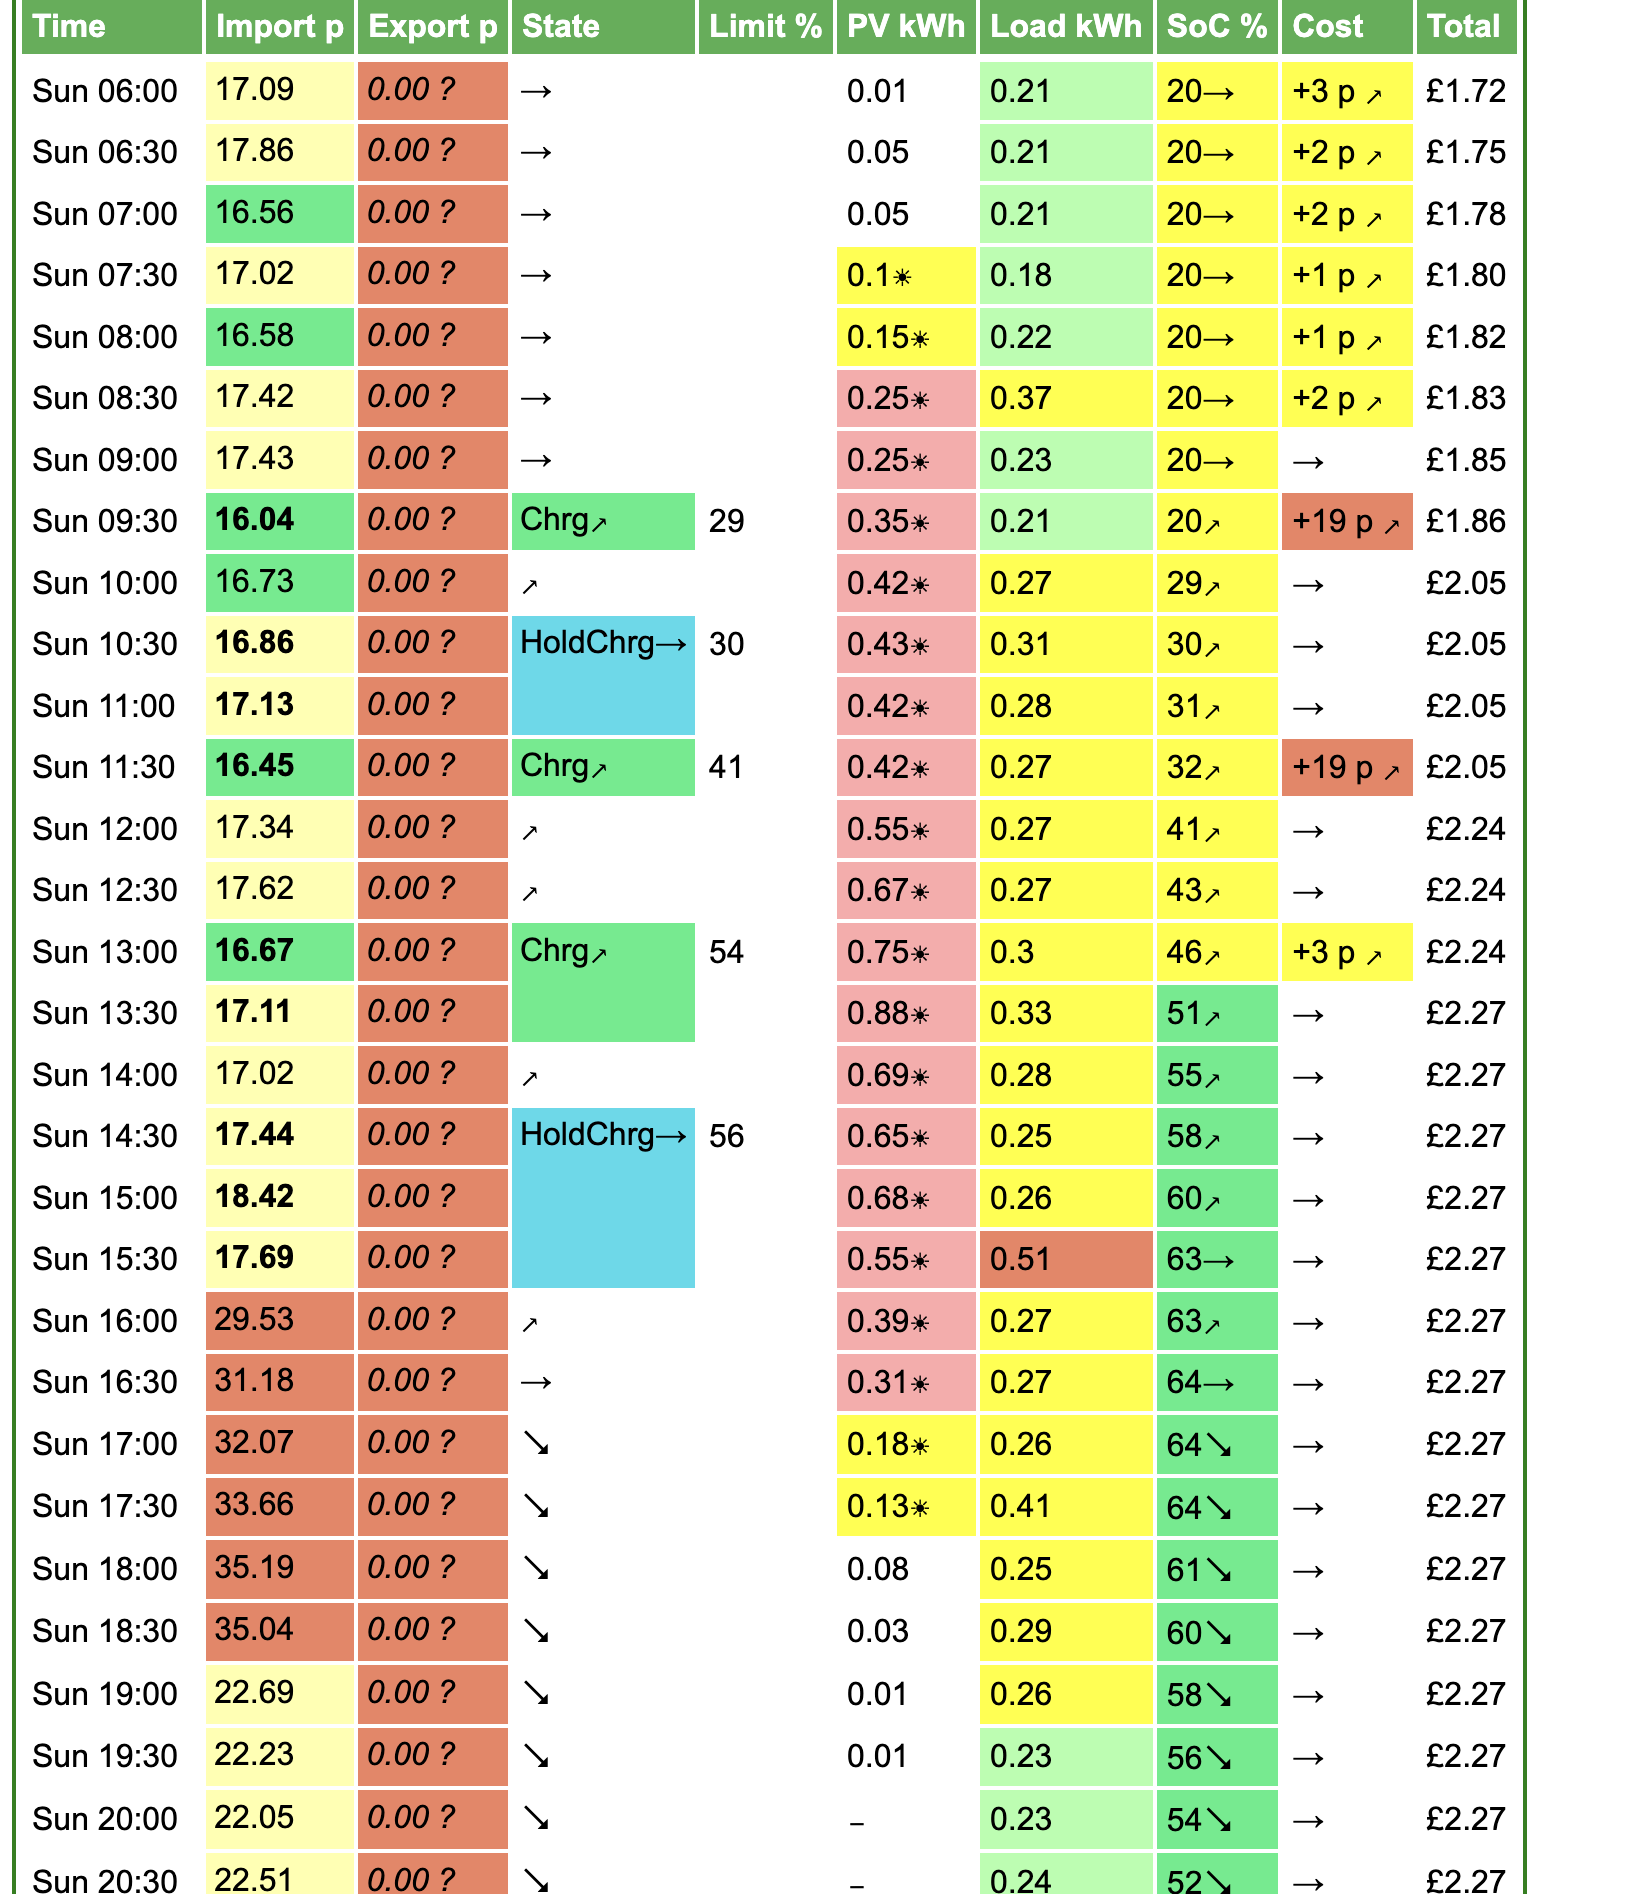
The plans aren’t as complicated as they first appear. Quite simply, it will tell you what it thinks the state of charge will be at a point in time, what the projected solar generation will be, and what it wants to do at that point in time to maintain that charge or discharge. It will also tie in the spot-pricing of my Octopus Agile tariff and provide a price-per-window and cumulative cost across the day.
Futureproofing
In the spirit of dog-fooding and giving back, I’ve built on the fantastic work of nipar44 and forked my own container build of Predbat which will automatically build and push any new versions of Predbat as they are released. This ensures that I’m not queued waiting for others to build/push updated containers and I can take full advantage of new features as soon as they become available.
I’ve also provided a Helm chart for deploying Predbat in a Kubernetes cluster for anyone else who happens to be running Home Assistant in k8s (although I would fully recommend natively installing it as a Home Assistant plugin and save yourself a lot of work!)

Exports
I’m still waiting for my export tariff with Octopus to be approved, however once that’s in place I’ll either write a part 2 or update this post retrospectively with any changes.
If you’ve set up something similar, I’d love to hear about your experiences. Please feel free to reach out!